How to stagger deck boards
Updated 2026-09-04 6 min read
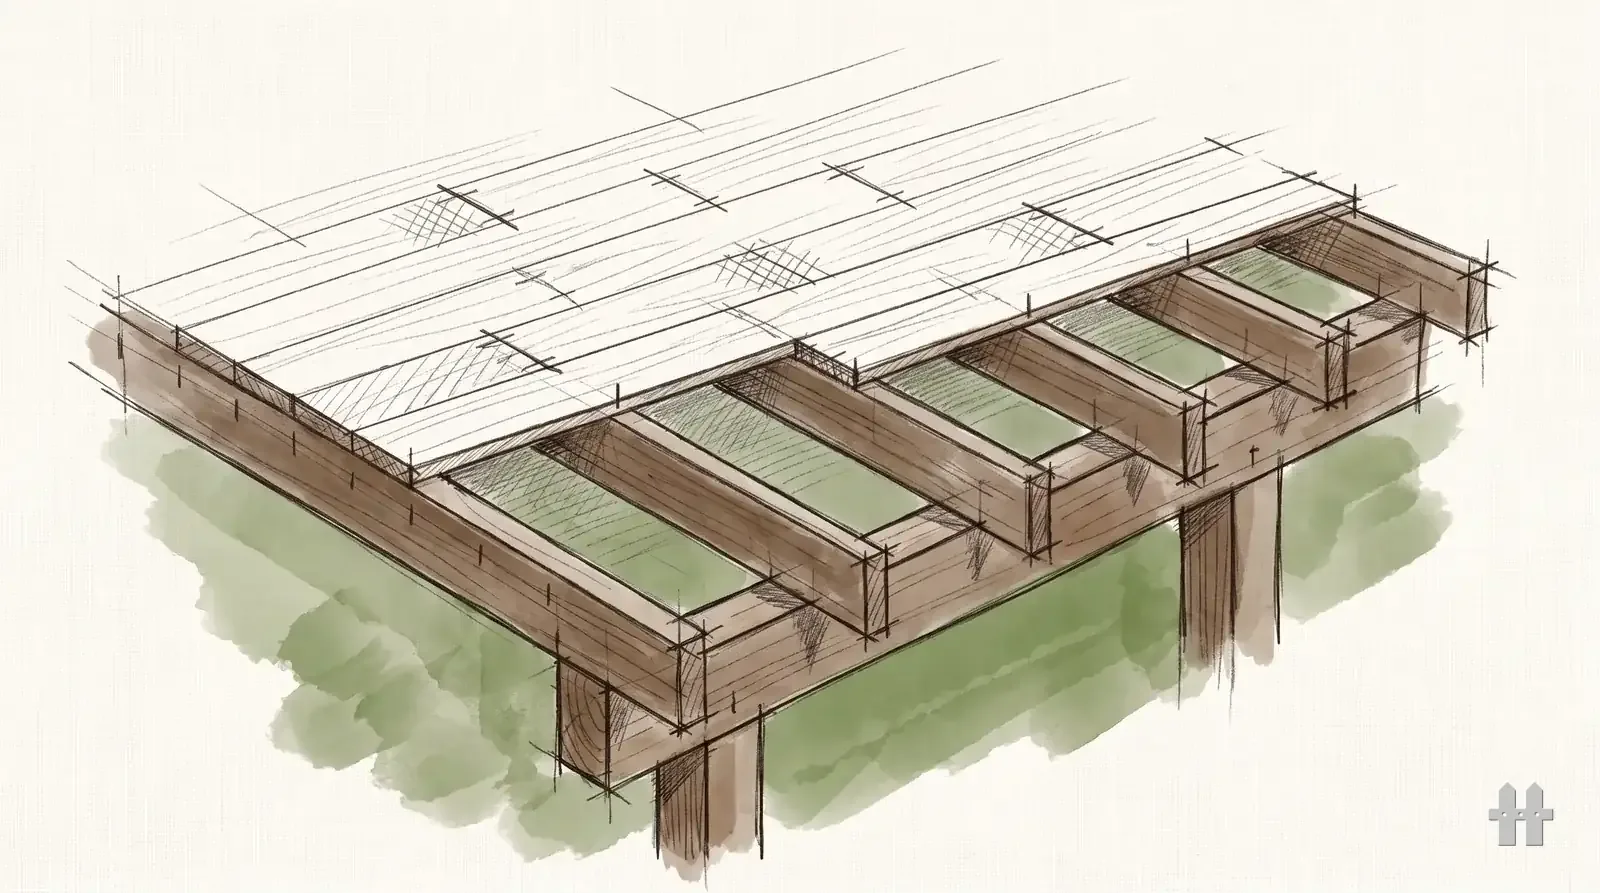
First, try not to stagger at all
The best butt joint is the one that is not there. Before you plan a pattern, check whether your deck width is inside a single board length in the stock your yard carries. Running full boards costs a little more in material and saves every problem below.
Where the deck is a foot or two over a stock length, it is often worth changing the board direction instead — running the decking the other way, or picking a picture-frame border that shortens the field. Both beat a run of joints down the middle of the deck.
The three rules
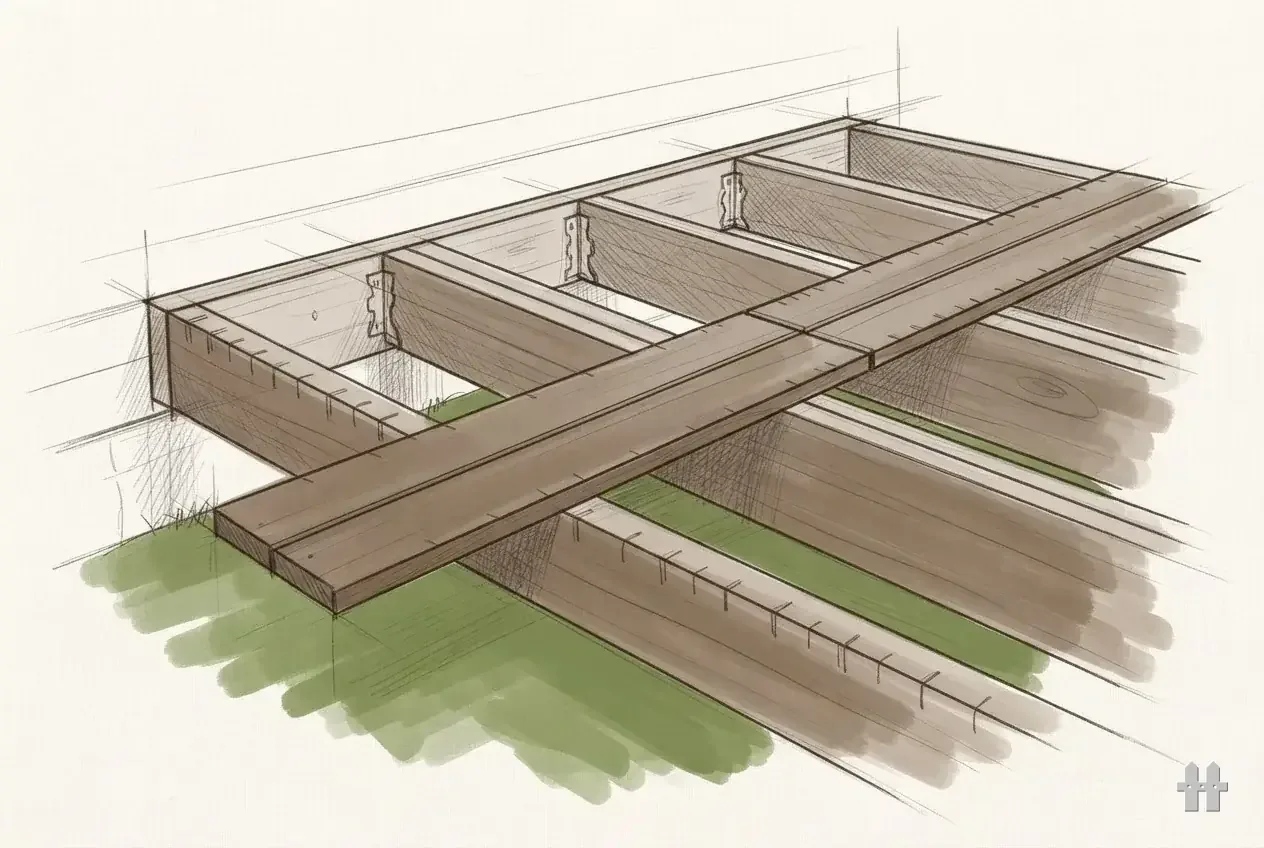
Every joint lands on a joist. Not near one. Two board ends meeting in mid-air will cup, lift and catch a toe within a season.
The joist under a joint is doubled. A single joist face gives each board end about three-quarters of an inch of bearing, which is not enough for two fasteners with edge distance. Sister a second joist alongside, or add blocking, so each board end gets a full face. Plan this at framing — adding it later means working from underneath.
Adjacent joints are at least two joists apart. Joints in neighbouring boards land the eye on them; spread over two or three bays they disappear.
Patterns that read well, and one that does not
| Pattern | How it reads |
|---|---|
| Random | Best. Vary the joint bay board to board with no repeating rhythm. Cut a set of different first-board lengths before you start so "random" is actually random and not three lengths alternating. |
| Two-bay alternating | Acceptable and easy to run. The joints sit in two columns; on a big deck the eye finds them. |
| Centre seam | Every joint on one joist, deliberately, with a doubled joist and often a border board over it. Reads as a design choice rather than a mistake — but only if it is dead straight. |
| Staircase | Avoid. Joints stepping one bay across each successive board draw a diagonal line down the deck that you will never stop seeing. |
Planning it before you buy
Draw the deck to scale with the joist centres on it, then pencil each board's joint bay. Two things fall out immediately: how many joists need doubling and where, and what board lengths you actually need to buy.
That second one is where the money is. Buying all one length and cutting to fit leaves a pile of offcuts too short to use. Buying a mix that matches your joint plan can cut the waste factor substantially. Run your board count through the board calculator with the plan in front of you, not before you have made it.
Cutting and fixing
Cut both halves of a joint square, with the good face up so any tear-out is underneath. Leave a small gap at the joint itself — end grain drinks water and boards move — and seal cut ends on treated stock with an end-cut preservative before they go down.
Two fasteners per board end, into the doubled joist, held in from the end enough not to split. If you are using hidden fasteners, check the maker's detail for butt joints specifically — most require a face screw at the joint even when the field is clipped.
Dry-lay a few boards and stand back before you fix anything. Joint placement is obvious from ten feet away and invisible from two, and ten feet is how the deck will be seen for the next twenty years.
Sources
Nothing here is asserted as a current figure. The numbers on this page are arithmetic or nominal lumber sizes — definitions, not claims.
Filed under Deck framing & structure — 19 tools, guides and comparisons in this pillar.