Deck stain guide
Updated 2026-10-18 10 min read
The five tiers
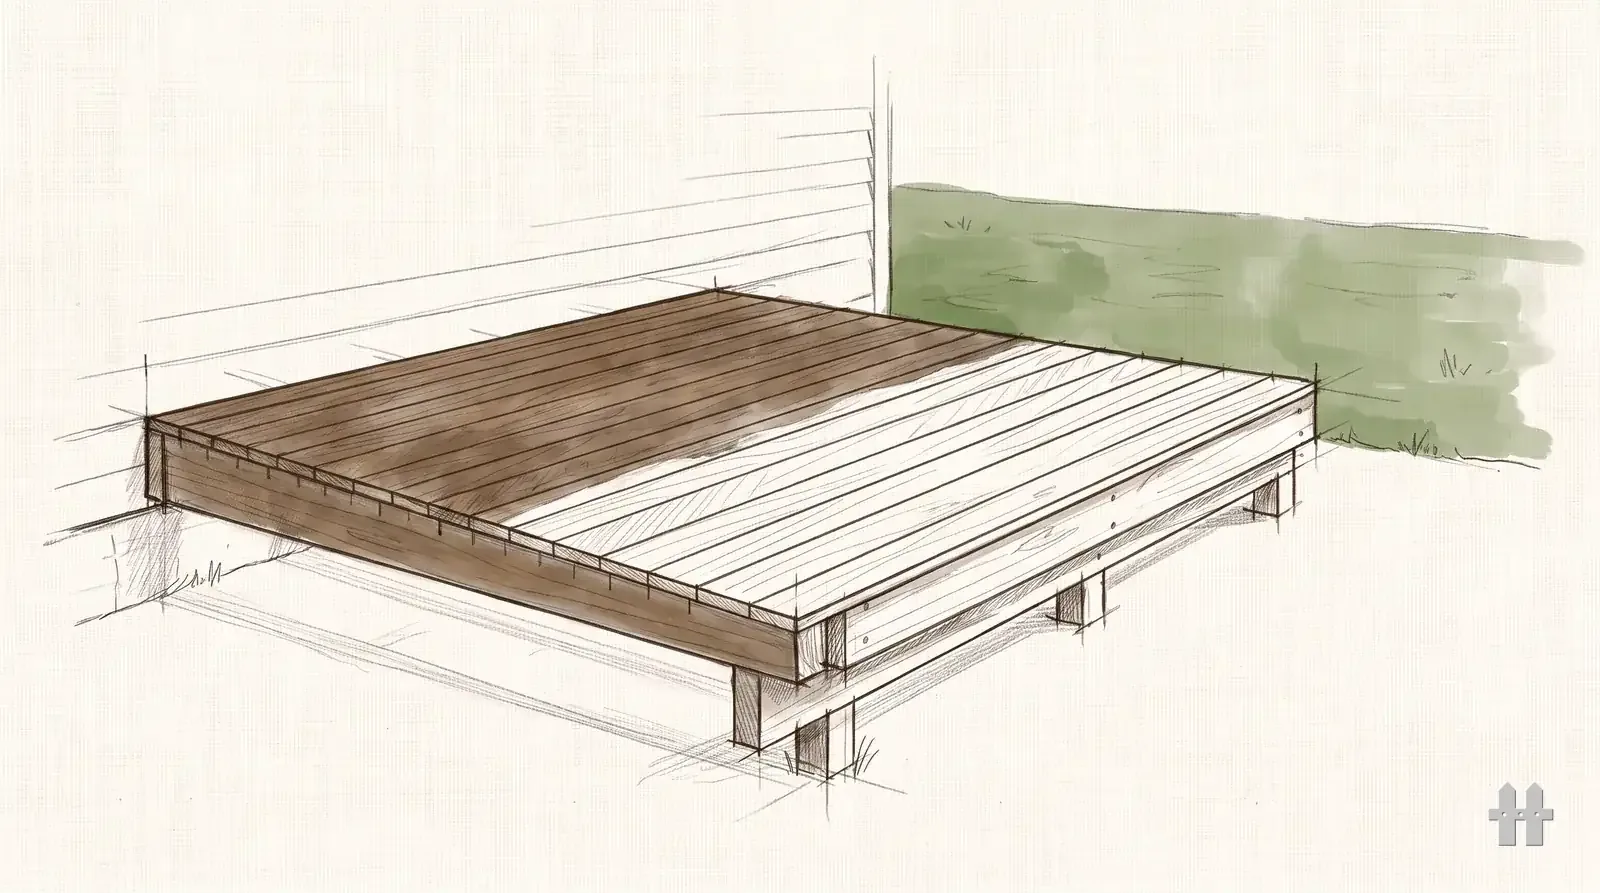
Deck stains run on one axis: how much pigment. More pigment means more UV protection and a longer interval, and less visible grain. The trade at the far end is not just looks — it changes how the finish fails.
| Tier | What you get |
|---|---|
| Clear / water repellent | Almost no pigment. Sheds water, does very little against UV, so the wood still greys. Shortest interval between coats. |
| Transparent | A little pigment. Grain fully visible, some UV protection. Wears by fading rather than peeling, which makes recoating easy. |
| Semi-transparent | The usual choice on cedar and treated pine. Grain still reads, real UV protection, still wears by fading. The best balance for most decks. |
| Semi-solid | Most of the grain texture, little of the colour. Longer interval, and starting to build a film. |
| Solid | A film that hides the grain, with the most UV protection. It lasts longest on railings and other vertical wood; on deck boards a film often lasts no longer than a penetrating stain, and when it fails it fails by peeling, so the next job is stripping rather than recoating. |
The important line is between penetrating finishes (clear through semi-transparent) and film-forming ones (semi-solid and solid). Penetrating finishes fade and are recoated by cleaning and reapplying. Films peel, and a peeling film has to come off before anything else goes on. That decision sets your maintenance for the life of the deck.
Still deciding between a stain and a paint at all? That choice has its own page: deck stain vs paint.
New wood, and how to know it is ready
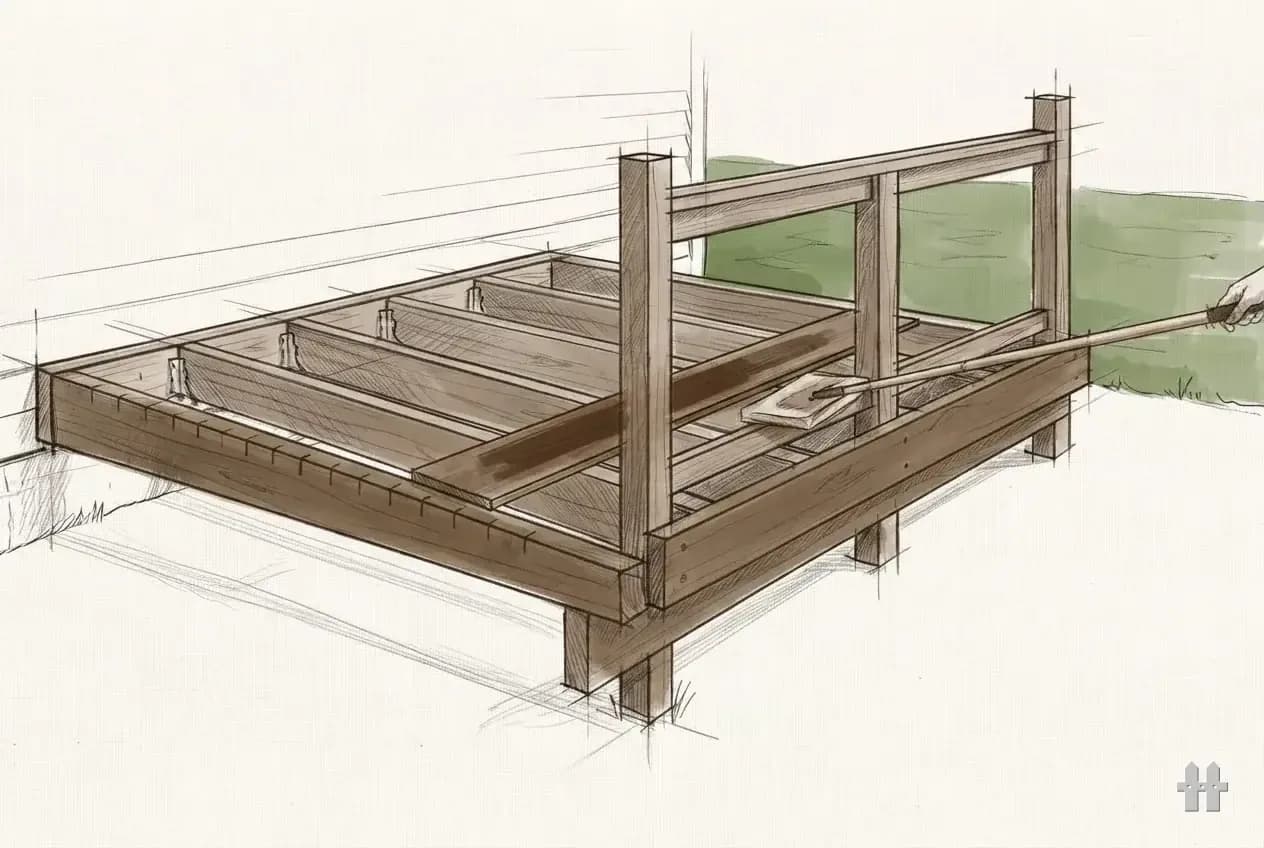
Freshly bought pressure-treated lumber is usually still wet with treatment. Stain applied to wood that cannot absorb it sits on the surface, dries unevenly and lifts. That is the single commonest reason a new deck's finish looks bad within a year.
Ignore the calendar and use the water test: sprinkle water on the boards. If it beads and sits, the wood is not ready. If it soaks in within a minute or so, it will take stain. Test in several places — the middle of the deck dries faster than the shaded edge, and one end of a board can pass while the other fails.
Kiln-dried-after-treatment stock, and naturally durable species like cedar, are usually ready much sooner. Cedar has its own catch: mill glaze, a burnished surface from the planer that repels finish. A light sanding or a brightener opens it up.
Prep is the whole job
Every finish failure that is not "too wet" is "not clean". Stain bonds to wood, not to the grey, dead surface layer, not to mill glaze, and certainly not to the last coat's remains.
- 01Sweep and clear. Furniture off, debris out of the gaps between boards — a stiff putty knife pulls the packed leaf litter that holds water.
- 02Clean. A deck cleaner appropriate to the wood, worked in and rinsed thoroughly. Greyed wood usually also wants a brightener afterwards to restore the pH and the colour.
- 03Strip, if there is a failing film. A peeling solid stain has to come off. This is the reason the film tiers cost more in labour over time.
- 04Sand where needed. Raised grain, splinters, mill glaze. Not the whole deck unless it needs it — over-sanding closes the pores and the stain will not penetrate.
- 05Fix the wood. Reset popped fasteners, replace anything soft. Staining over a rotten board buys nothing.
- 06Let it dry. Fully. Washing and staining in the same day is the second commonest failure after staining new wood.
A pressure washer on a deck is a tool with a narrow safe window. Too much pressure or too close a nozzle tears the soft spring wood out from between the grain and leaves a furry surface that no finish saves. Wide fan, well back, keep it moving — or use a cleaner and a stiff brush instead.
Applying it
Pick the weather, not the weekend. Out of direct sun, well inside the product's temperature range, and with dry weather after — most failures on a well-prepped deck are rain landing on a finish that had not cured.
Work board by board, end to end. Stopping mid-board leaves a lap mark that will not sand out. Two or three boards at a time keeps a wet edge across the run.
Do not over-apply. Penetrating stain takes what the wood absorbs; anything left on the surface stays tacky and collects dirt. Back-brush what a pad or sprayer leaves, and wipe standing excess.
Stir, and box the cans. Pigment settles, and two cans of the same colour are not identical. Mixing them together before you start prevents a visible line halfway across the deck.
Do the edges and ends. Board ends drink water and are where rot starts. Get stain into them, and into the railing undersides nobody sees. Work out your gallons first with the stain calculator — running out mid-deck forces exactly the lap mark you were avoiding.
What fails first, and when
Not the whole deck at once. Horizontal surfaces in full sun go first — the deck floor and the top of the rail cap take the UV and hold the water. Vertical faces, risers and shaded areas can look fine for years longer.
That means maintenance is not a whole-deck event on a fixed schedule. Watch the sunniest stretch of floor; when water stops beading there and the colour has gone flat, clean and recoat that area. On a penetrating finish, a maintenance coat on the worn zone blends in — which is exactly why penetrating finishes are easier to live with.
The recoat interval is a property of the product and your climate, and the label is the authority. A deck under trees in a wet climate is a different job from one in high desert sun, and no interval printed in a guide covers both.
Sources
Filed under Materials & finishes — 11 tools, guides and comparisons in this pillar.
Next on the pile
Deck stain calculator
Gallons for your deck, by surface and coat count.
How long does a deck last
Finish is most of the difference.
Decking materials compared
Which materials need a finish at all.
Decking board width
More boards means more linear feet of edge to coat.
Fence stain calculator
The same finish on a fence: two faces and a frame.